
Skills
- Perform image management procedures.
- Demonstrate professional visual communication skills.
Resources:
Textbook: Adobe Photoshop CC: Classroom in a Book
Adobe TV: http://tv.adobe.com/
Zombie”fy” Yourself Project
OVERVIEW
In this Project you will use many of the skills you have acquired throughout your Photoshop Lessons. You will take a Headshot of yourself and it into a Zombie. You will accomplish this by blending other images using masks as well as using adjustment layer and several tools to transform your image.
OBJECTIVE
At the completion of the project students will have demonstrated the ability to blend layers, use masks, and use adjustment layers and tools to transform a basic headshot of a person into a “movie” like zombie image.
INSTRUCTIONS
STEP 1: GET IMAGES
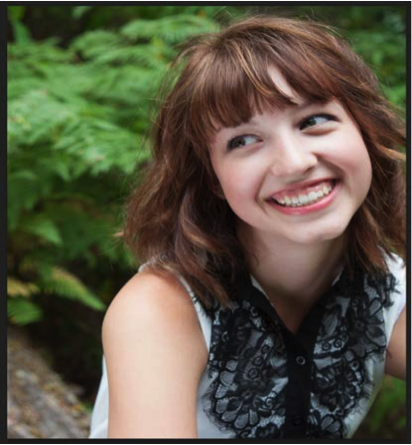
In order to zombie yourself you need a nice headshot on a green screen. Have someone take a picture of you in front of a green screen. The green screen will make it easier to mask out your face.
To create zombie look you will need several images to blend with your Headshot image. These images will be used to make your skin look rotten so you want images that have texture. Search the web for these images. I would suggest you look for images (with texture) of Meat, Carcasses, Surgeries, Rotten wood, Rusted metal and other things you can think of that might make skin look rotten.
Next find a background night scene photo that you will place your headshot on. Example photos for your background would be night scenes, graveyards, full-moon etc. Be sure to use HIGH Quality Images!
STEP 2: SETUP YOUR WORKSPACE
Create a New Photoshop document that is 11in x 14in. The resolution needs to be 300 Pixel/Inch. Have the new document in CMYK Color Mode.
Save your work as Zombie_(yourinitials).psd
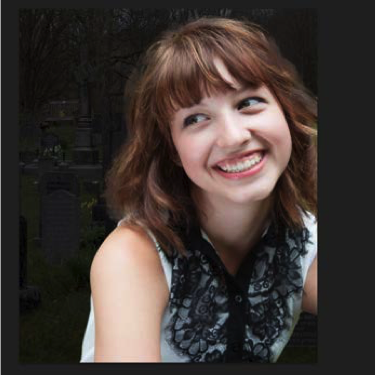
STEP 3: ADDING YOUR BACKGROUND
Place your background night scene into the workspace.
If the image is much smaller than your canvas, remember to convert it to a Smart Object (Layers > Smart Object > Convert to Smart Object) before transforming. This will keep the original image still available just in case you need to go back and change it.
Start to add effects to the background in order to make it look scary/spooky and to get the look you are going for.
 STEP 4: START YOUR ZOMBIE
Bring your Headshot into your project and cut out the background so it is only your face. Use select and mask to get a nice cutout.
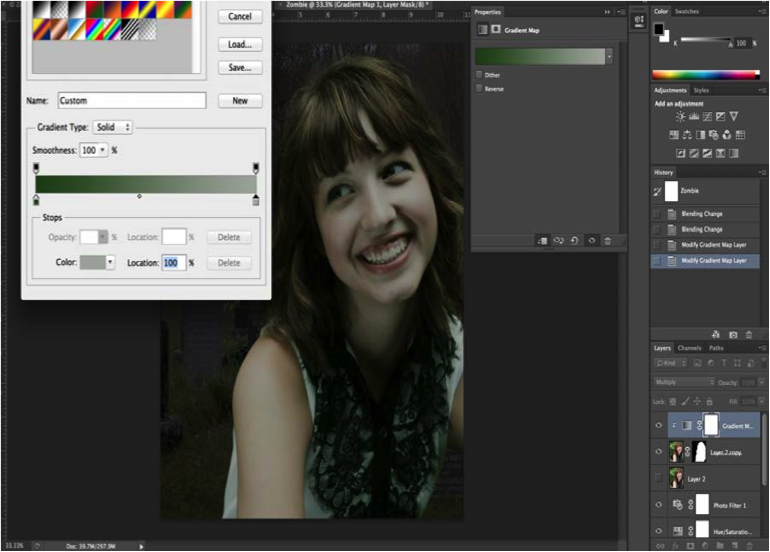
STEP 5: ADD A GRADIENT MESH
(Pay close attention here)
In this step you will add a Gradient Map Layer. Make sure your headshot is selected and click on Gradient Map in the Adjustments Panel. In the Gradient Map options, change the colors of the gradient to: Dark Green (left color and the right color to a Light Gray (right color).
Click OK to approve these changes. This will begin to give you the zombie flesh.
(See next photo for example of the changes)
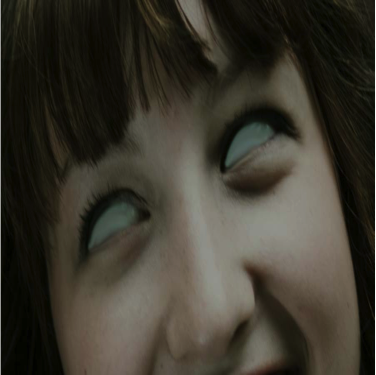 STEP 6: ZOMBIE EYES
Make zombie eyes! One way to make Zombie Eyes is to use the Smudge tool to Smudge the whites of the eyes into pupils.
You can use the Dodge and Burn to also balance out what you have smudged to make it look more natural. Add your own ideas!
STEP 7: ADD ZOMBIE FLESH
In Photoshop open each textured image that you collected previously and transform your image as needed. In most cases you will only be using a piece of texture from the image so discard the rest. Move/Drag the image onto your Zombie when it is ready to be added to your image.
Select the area you would like to Mask it onto. Once it is Masked, change the blending option to the option the suits you best. Most likely it will be Soft Light or Overlay. Continue to place the layers, mask and blend each layer.
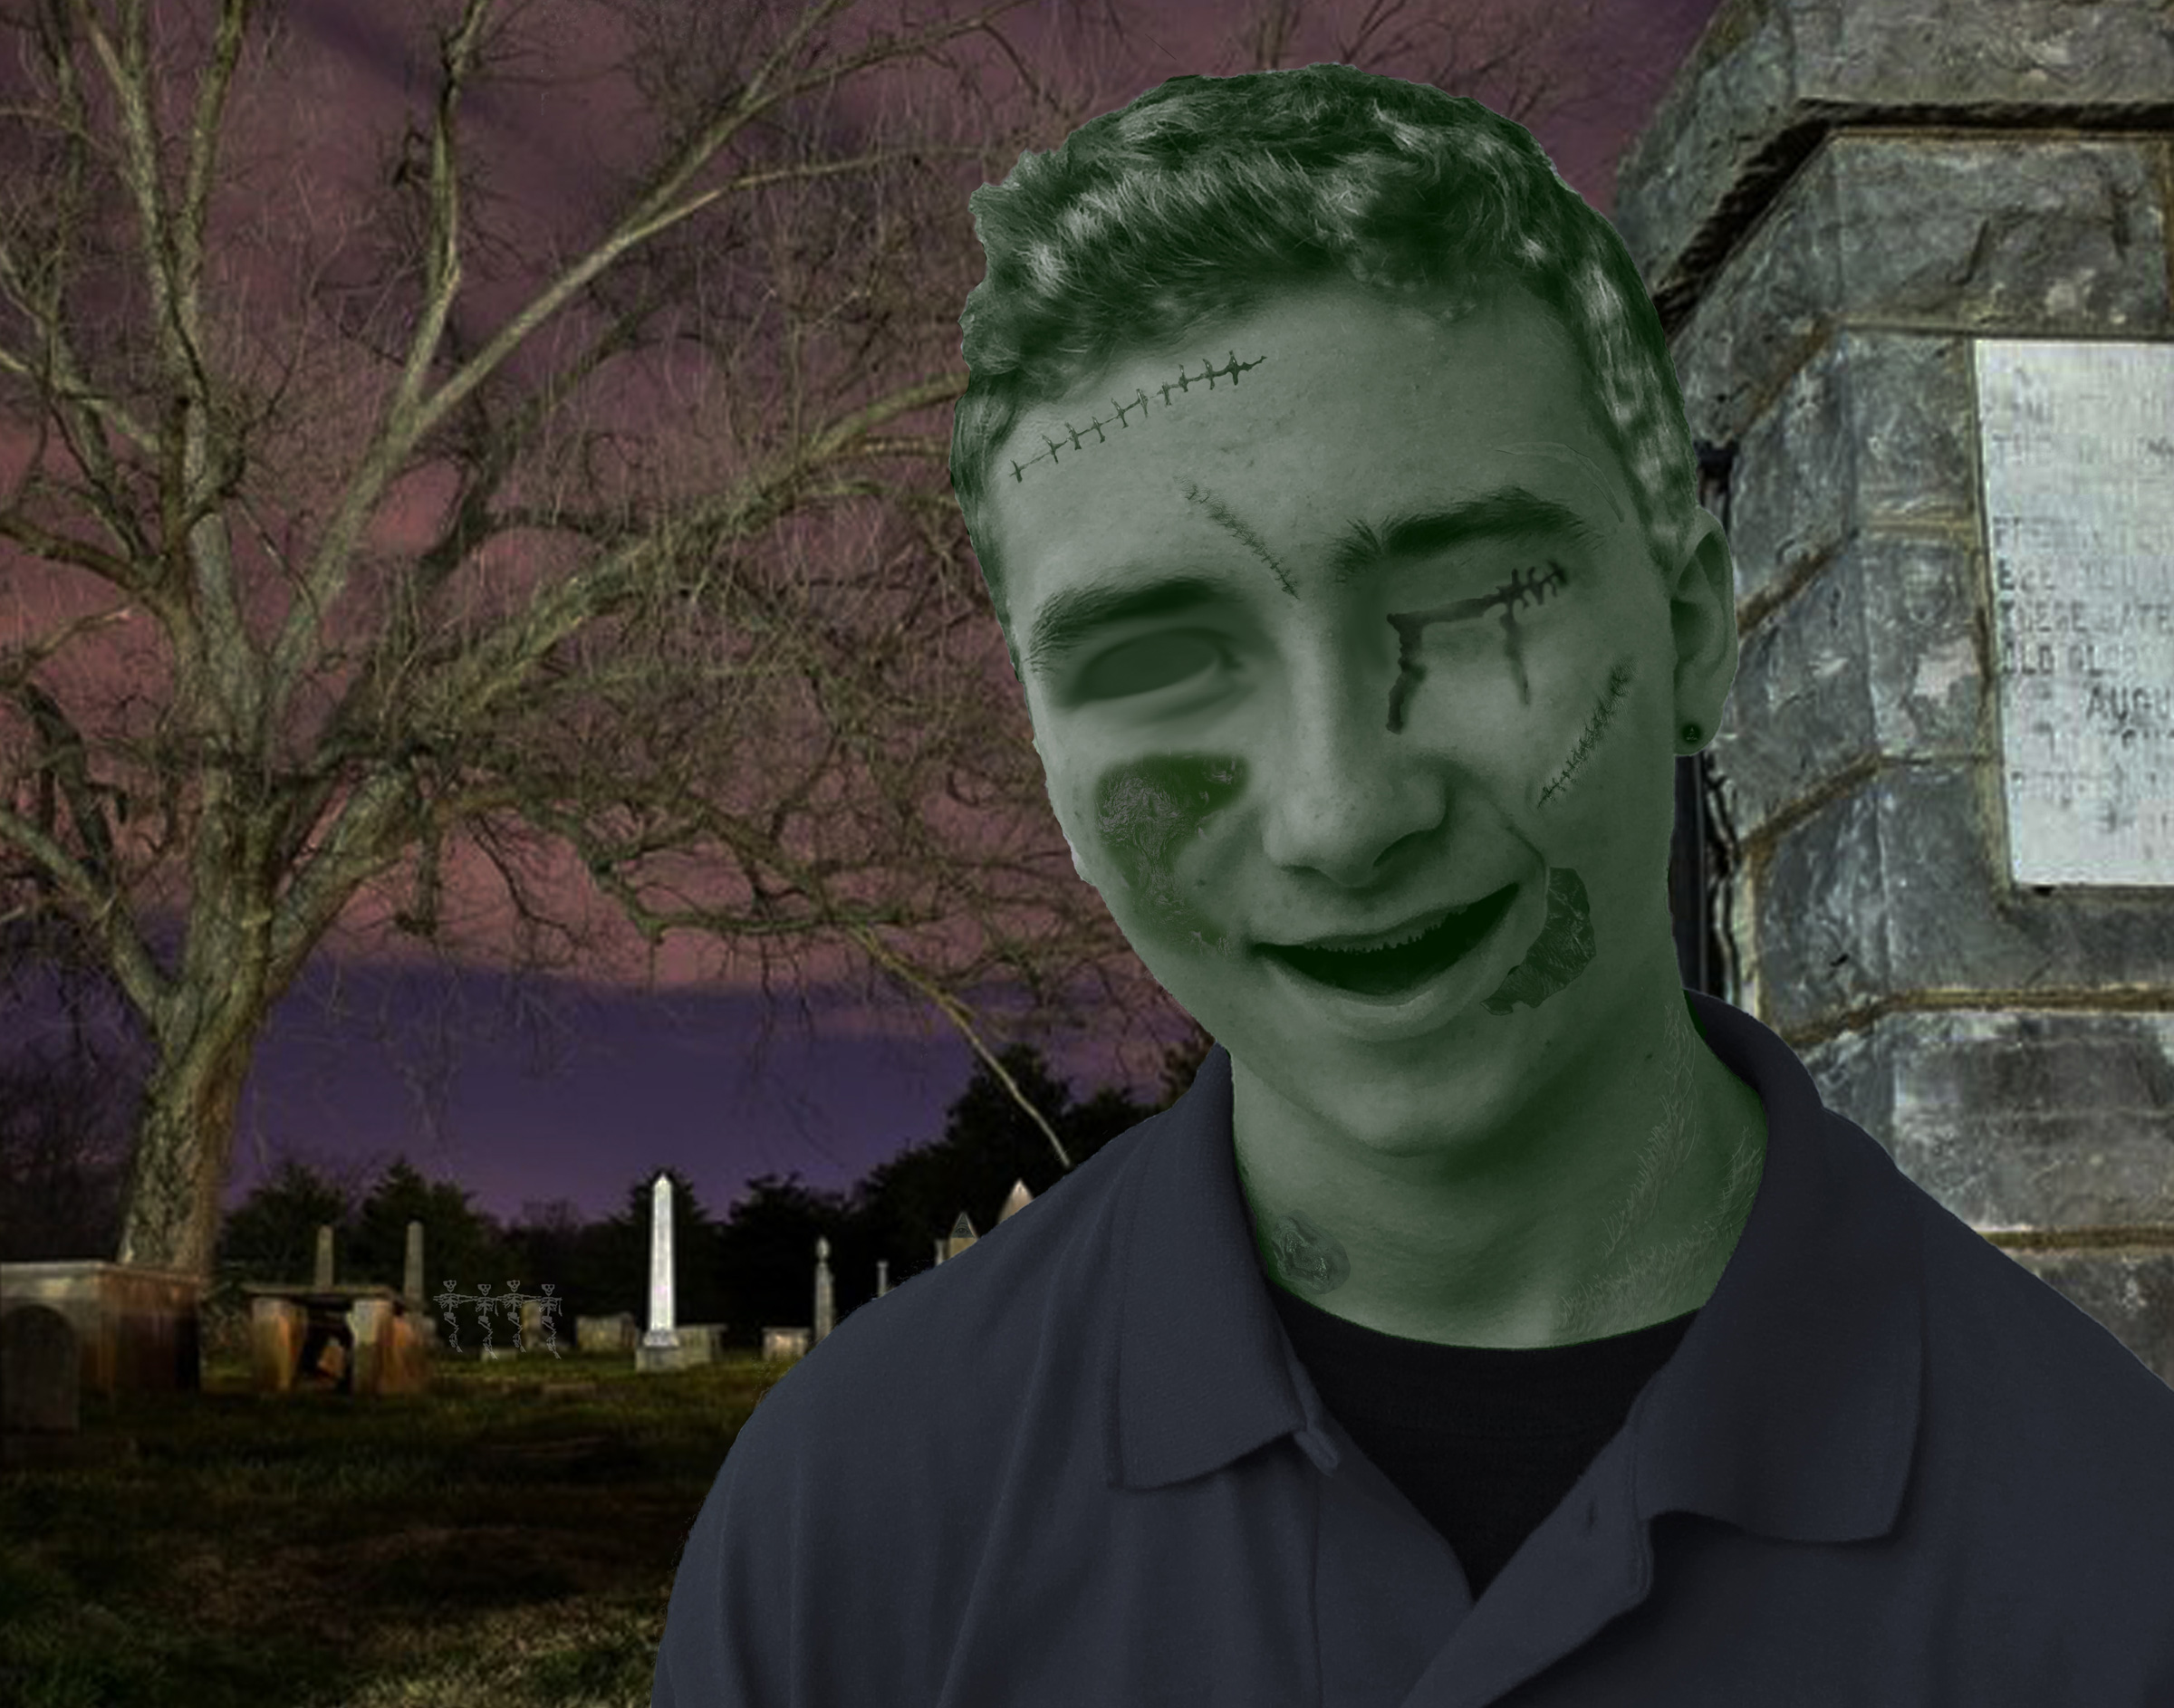
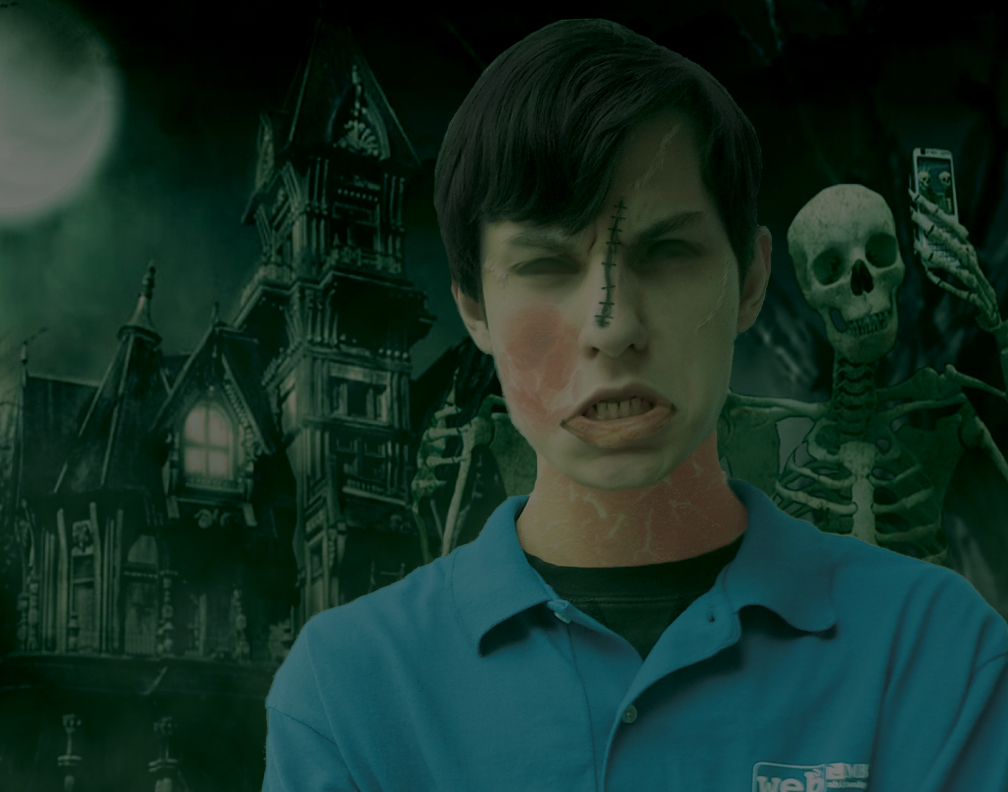
STEP 8: CONTINUE ZOMBIFYING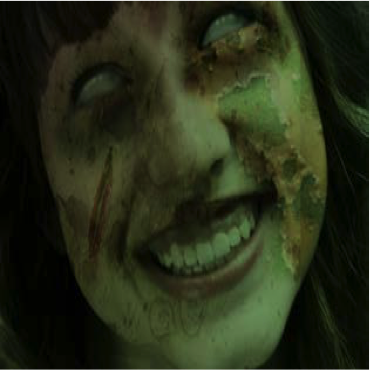
Continue to add different effects to your zombie as you see fit. Play with different features for your hair and mouth. Add scaring. BE CREATIVE!
STEP 9: SAVE & SUBMIT
Save your work as Zombie_(yourinitials).psd Keep it as a Photoshop file so all layers stay available.
Also save it as a .JPG so it flattens all the layers. Submit the .PSD and .JPG file into the WEB network drive in your appropriate folder.
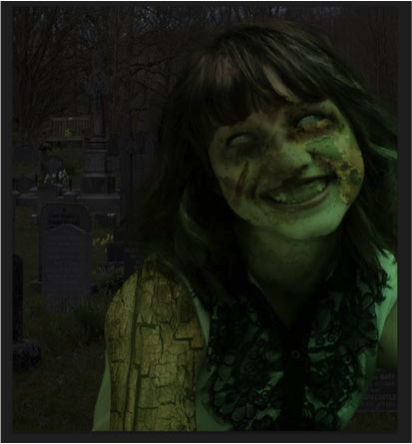
EXAMPLES
ASSESSMENT
The rubric Below will be used to assess your work.
|
Criteria |
Outstanding |
Meeting Expectations |
Below Expectations |
Unacceptable |
| Created a realistic ”Zombie“
(10 pts) |
Transformed a Headshot of a person into a “movie” like Zombie | Transformed a Headshot of a person with some Zombie features | Added some layers to transform a person. Not Very smooth transformation | Transformation looks more painted on not blended as demonstrated in assignments |
| Used at least 5 images to create the final image
(10 pts) |
Used 5 or more images to make a creative work. | Used less than 4 images | Only used 2 images | Unclear how many images were used as the layers were merged |
| Used adjustments, tools and/or lighting filters to enhance your work
(10 pts) |
Adjustments are used to improve and enhance the images | Some adjustments are used but image could additional improvement | Adjustments are very obvious or used improperly | No attempt was made to adjust or enhance the image |
| Turned in a PSD file with all of he layers included. At least 5 layers
(5 pts) |
PSD file has at least 5 layers with all layers named appropriately. | PSD file has at least 4 layers with all layers but not named appropriately. | PSD with less than 4 layers. | PSD file with layers merged or image is in a different file format. |
| Creativity
(10 pts) |
Final Image is unique and unlike other images seen online, in class or else where. Image has Artistic content, color, lighting, smoke effect etc. . | Final Image is an imitation of another piece seen, in class or else where. Image has Artistic content such as Elements and Principles of Design. | Final Image is just like another piece seen, in class or else where. Or Image does not have any Artistic content | Image does not follow any Principles of Design or have any Elements of Design. |
| Time Management
(5 pts) |
Project was turned in on time and classroom time was used effectively. | Project was not turned in on time and classroom time was not used effectively. | ||
| TOTAL 50 PTS
_______/50 |