Chapter 7: Using Bootstrap
Goals for this Lesson
- Insert and format new content and components into a Bootstrap-based layout
- Create a mobile-friendly page layout based on a web framework
Exercise
Objective
- Insert a bootstrap framework
- Create a page layout using bootstrap
Instructions
- Download the file needed here. Create a new site for the project in Dreamweaver: Call the site: Ch 7 Exercise. Be sure to link the root folder and the images folder.
- Create a NEW HTML Bootstrap file. Be sure a pre-built layout is unchecked.
- Title the page: Web Design and Interactive Media (This is what appears in the title tags!)
- Save All and save your new html bootstrap file as: index.html
- Insert the Following Bootstrap element:
- A Container
- Inside the container insert the following bootstrap elements:
- A grid row with 1 column: Rename the first div to say header. (Be sure to change the closing tag to a closing header tag)
- After the header but still within the container insert a Bootstrap Navbar – (A basic Navbar)
- After the navbar insert a grid row with 1 column: Rename the first div to say main. (Be sure to change the closing tag to a closing main tag)
- In the new main you created where it says: Content goes here add another grid row with 1 column. Rename the first div to say section. (Be sure to change the closing tag to a closing section tag)
- After that section that you created, insert a grid row with 2 columns. Rename the first div to say section. (Be sure to change the closing tag to a closing section tag) Name the two divs inside of that section article. Be sure to change the closing tag to a closing article tag)
- After the closing main tag add a grid row with 3 columns: Rename the first div to say footer. (Be sure to change the closing tag to a closing footer tag)
- Create a new external stylesheet called: styles – add it to the folder called css.
- Create the following styles in the style sheet for each selector:
- body – background color of #000000
- .container – background color of #ffffff
- header – background color of #4483E7 and text-align of center
- main– background color of #FFFE8E
- footer– background color of #247C78 and a height of 100px
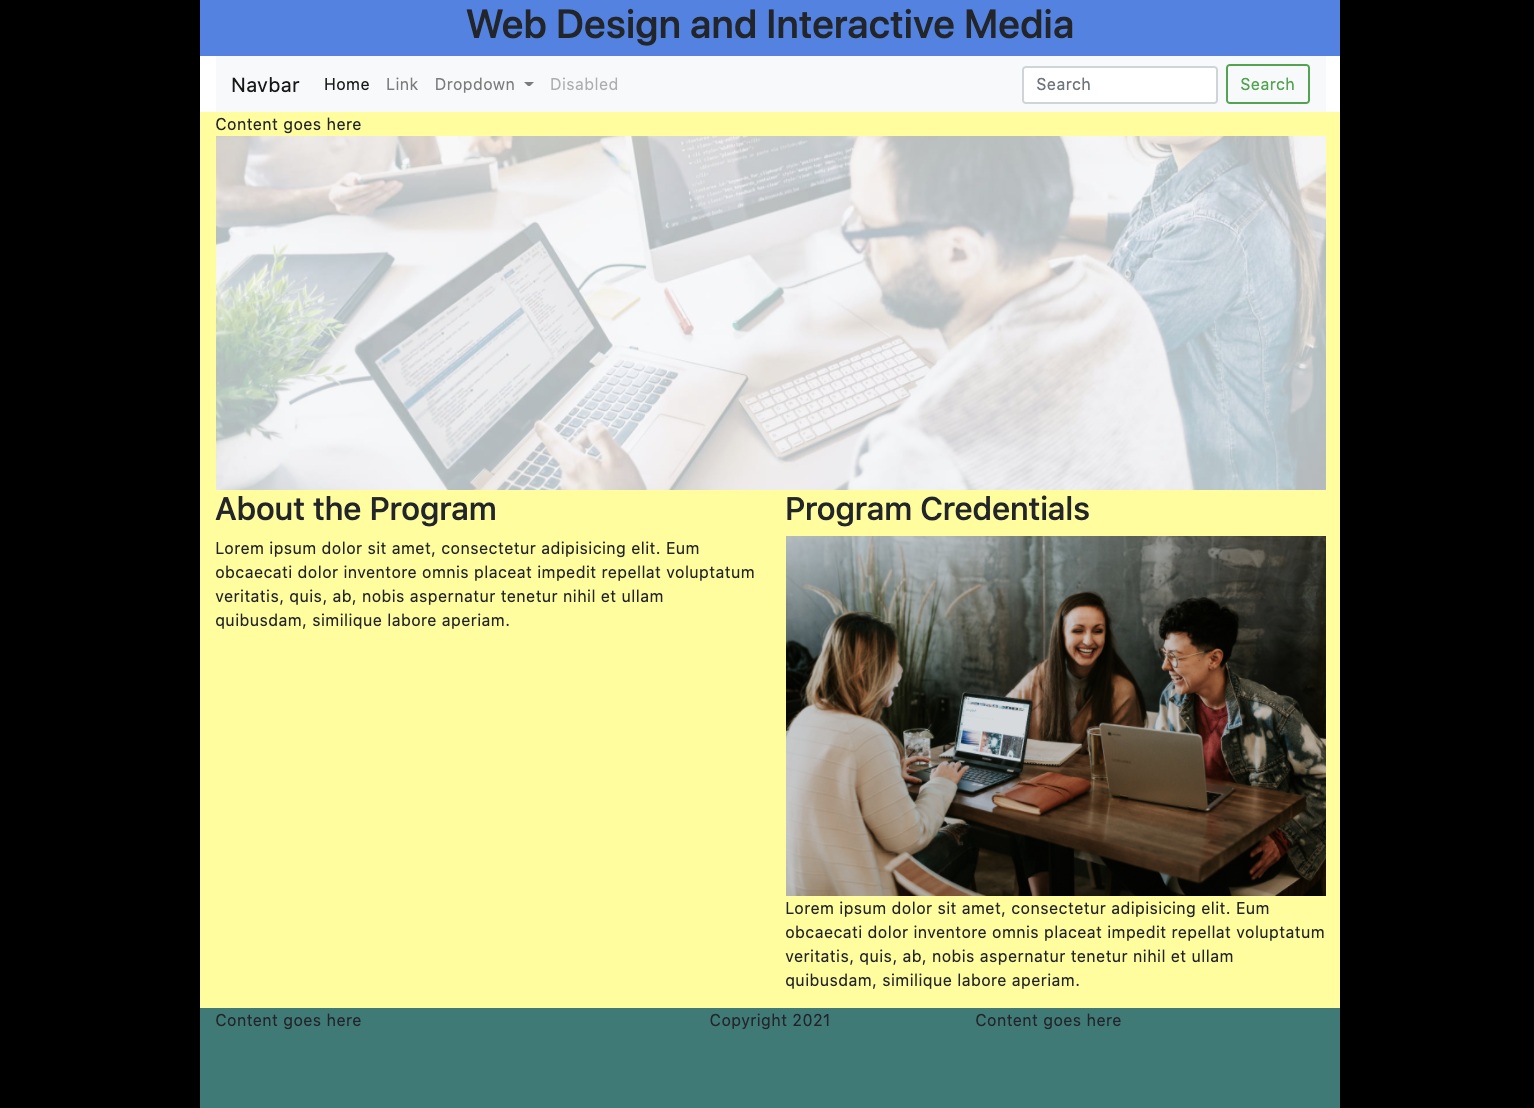
- In the header where it says, Content goes here, add an h1 heading that says: Web Design and Interactive Media.
- In the first section where it says, Content goes here, add the image called: computers.jpg. Give it a width of 100% and alt text to say: computers
- In the first article, where it says, Content goes here, insert an h2 that says: About the Program. Then insert a paragraph of lorem ipsum using the p tag. (To get lorem ipsum text type lorem then hit the tab key and Dreamweaver will automatically create a paragraph of lorem ipsum!)
- In the second article, where it says, Content goes here, insert an h2 that says: Program Credentials. After the h2 add the image called: students.jpg. Give it a width of 100% and alt text to say: students. Then insert a paragraph of lorem ipsum using the p tag.
- In the footer middle column, where it says, Content goes here, insert a paragraph that says: Copyright 2021 using the p tag.
- Save all your files!
- Submit the Ch7Exercise folder in the Shared Drive. It should include the CSS, and Images in order to work properly.