

Chapter 4: Layer Basics
In this chapter, you begin to think of Photoshop files as structured documents with parts (layers) that can be edited independently. Layers give you the flexibility to change your mind at any time, adapt work at the last minute to incorporate client-requested changes, leverage files to create alternate versions of an image within the same file, and to do other things that would be a great deal more trouble on a real paint canvas or in a darkroom.
Goals for this Lesson
- Organize artwork on layers.
- Create, view, hide, and select layers.
- Rearrange layers to change the stacking order of artwork.
- Apply blending modes to layers.
- Resize and rotate layers.
- Apply a gradient to a layer.
- Apply a filter to a layer.
- Add text and layer effects to a layer.
- Add an adjustment layer.
- Save a copy of the file with the layers flattened.
Exercise 1
Objective
Grading (5 Points)
- You met the minimum requirements of the project assignment, as outlined in the instructions and submission requirements.
- By rearranging and adding layers, you created a composition that looks good and makes sense.
- You added layer styles to the images.
- You changed the blending mode to the text.
- Did you save the file appropriately?
- Is the exercise submitted on time?
Instructions
- Download the files here. (Unzip the files)
- Open the background.psd file. You will see one background layer and two other layers in the file.
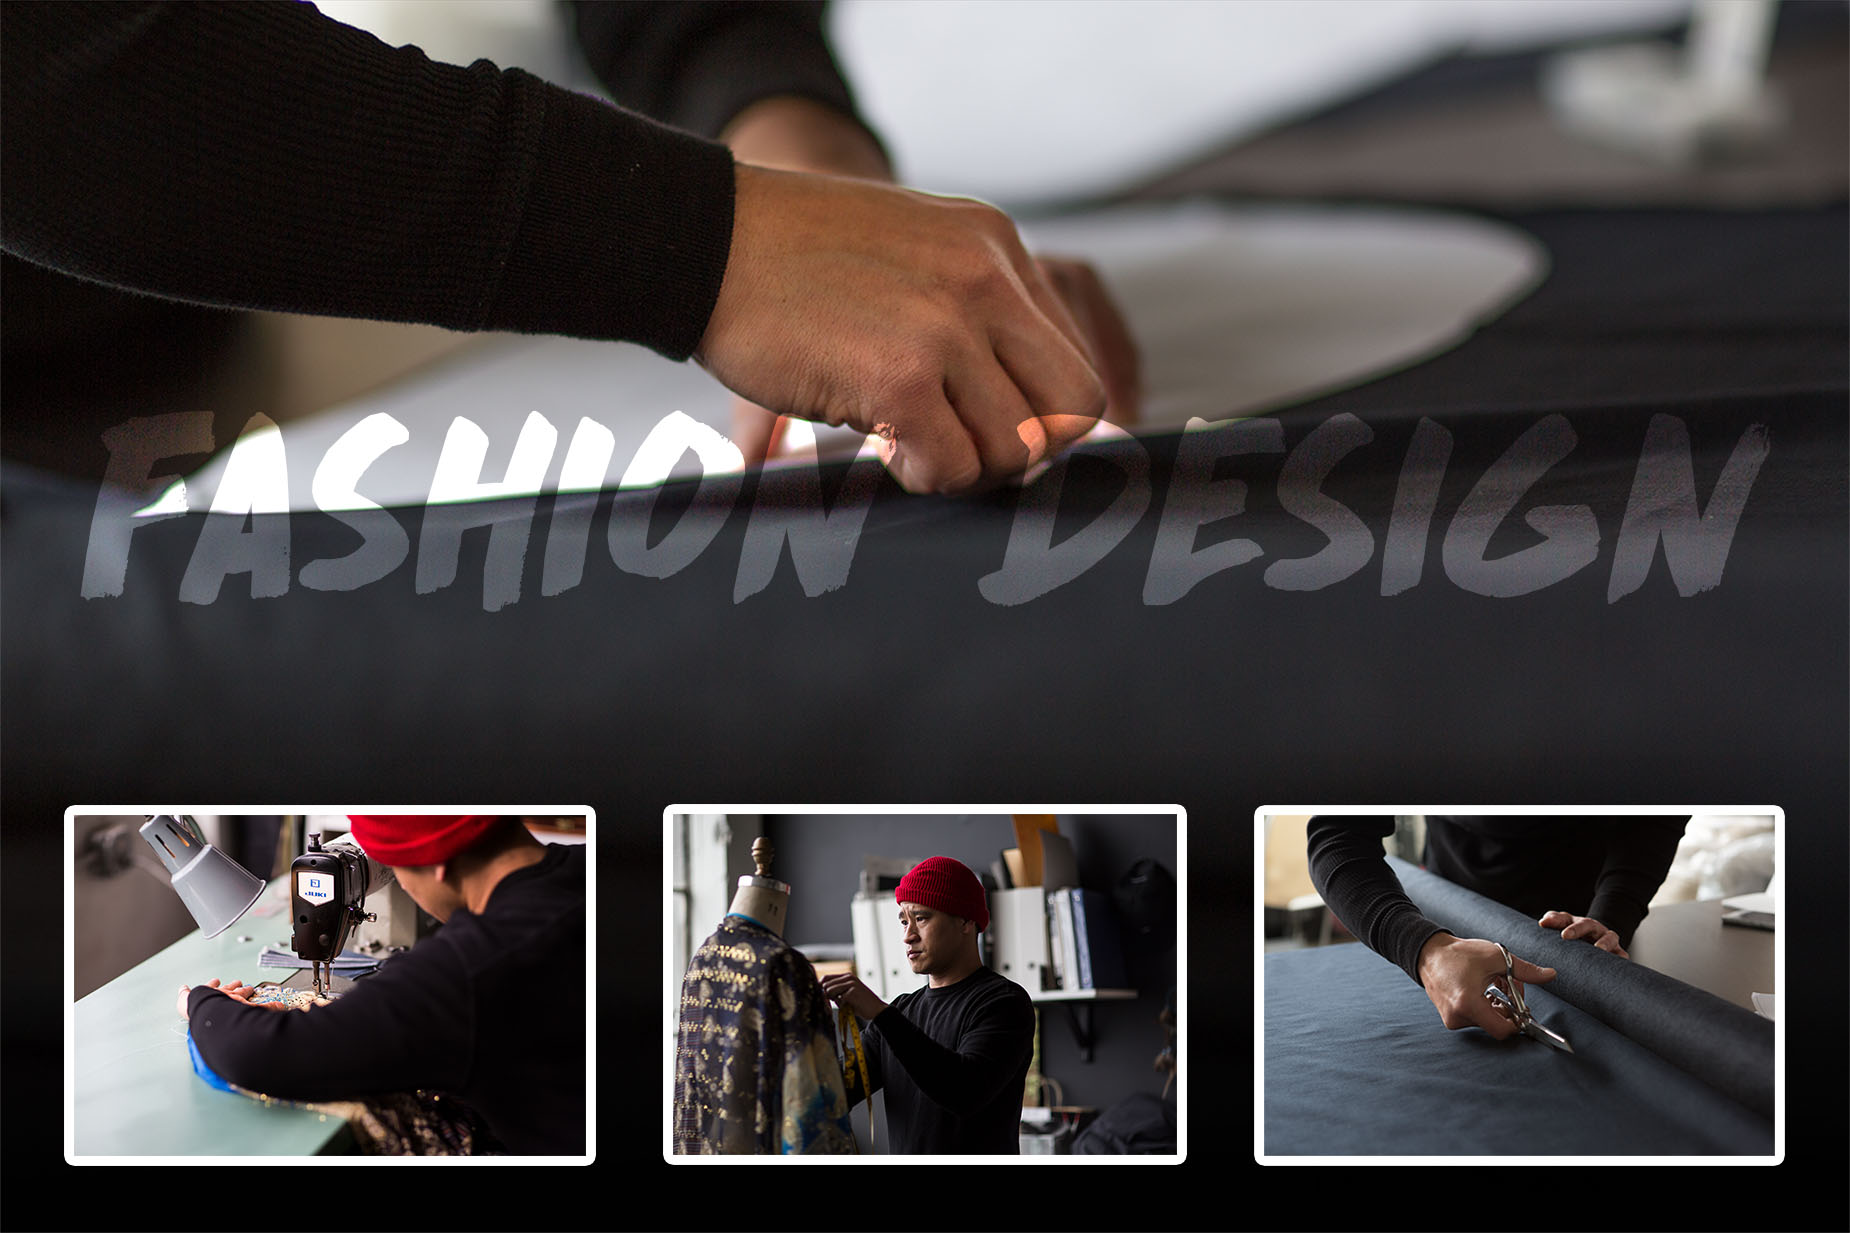
- Arrange the measuring and sewing layers horizontally across the bottom of the background layer. (see example below)
- Add the cutting.psd file (File> Place Embedded) to line up with the two other layers that were placed horizontally. Resize all the layers to fit nicely across the bottom of the background layer. (see example below)
- On all three horizontal layers add a 10px, white, Stroke on the outside of the images. (see example below)
- In the middle of the background image use the type tool to type the word “FASHION DESIGN” in the color white. Use a bold font and the word should fit across the image. (see example below)
- Change the Blend Mode on the type layer to Overlay.
- The image should resemble the example below.
- Save the file as a .JPG and name it Fashion.
- Submit the file in the network drive in a folder named Chapter4Ex1_(YourInitials).
Exercise 2
Objective
In this project, you will create a photo collage using layers.
- Merge multiple documents into multiple layers in one document.
- View multiple documents simultaneously.
- Rearrange and rescale layers for composition.
- Construct a photo collage using layers and masks.
Grading (5 Points)
- You met the minimum requirements of the project assignment, as outlined in the instructions and submission requirements.
- You successfully merged all Project File documents into layers in one document.
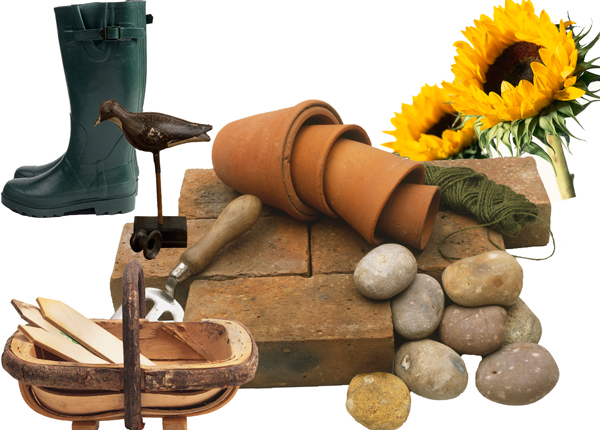
- You masked all solid-color backgrounds, leaving clean edges around the objects. (Note: The shadows in the GardenTools-Project1.psd file should not be erased, just the white background.)
- By rearranging and rescaling the individual layers, you created a composition that looks good and makes sense.
- Did you save the file appropriately?
- Is the exercise submitted on time?
Instructions
- Download the files here. (Unzip the files)
- Using Photoshop, open the five files that are supplied. Initially, you will see only one document window at a time.
- Make your active window in Photoshop GardenTools-Project1.psd.
- Choose File > Save As…, and rename your document GardenCollage.psd
- Using the Move tool, drag each of the other four Photoshop documents into the target document, one at a time.
- After each move, save the target document (File > Save, or Cmd+S (Mac) or Ctrl+S (Win).
MOVING IMAGES
- Close all four source images so only GardenCollage.psd remains open.
- Click on each source layer, one at a time, to make it active, and then perform the following steps:
- Use the Move tool to center the layer in the display window.
- Choose the Magic Wand tool, and make sure the Contiguous box in the Options bar is not selected.
- Click once in the white background area of the layer.
- Select the Backspace key to delete the white.
- Do this for all of the other image layers to delete the white space.
CREATE THE COLLAGE COMPOSITION
Rearrange the layer order in the Layers panel to see how the layers work together. Note which images might need scaling up or down so they all look like they go together. (You can rearrange and rescale the garden tools layer, too, but leave the white background in Layer 0 as is.)
RESCALE AND REARRANGE LAYER OBJECTS
Rescale the all the images and rearrange them using the move tool to create a unique composition. Be sure to hold the Shift key to maintain proportions.
FINALIZE THE COMPOSITION, AND SUBMIT
- Continue fine-tuning the scale and arrangement of the layers until you are satisfied with the result.
- Save the changes.
- Submit the file in the network drive in a folder named Chapter4Ex2_(YourInitials).
Review
Which icon indicates that a layer is protected?
Lock
What does the eye icon next to a thumbnail in the Layers panel indicate?
The layer is visible
_____ combines all the layers into a single background layer.
Flattening
Adjustment layers affect all layers ______ it, in the layers stacking order.
below
Shadows, strokes, and other special effects are enhancements to layers that are found where?
layer styles
These affect how the color pixels of one layer blend with pixels of the layer underneath.
Blending modes