

Chapter 6: Masks and Channels
Masks are a powerful way to control both where and how much an effect changes an image. This lesson guides you through the extensive Photoshop masking features.
Goals for this Lesson
- Create a mask to remove a subject from a background.
- Refine a mask to include complex edges.
- Create a quick mask to make changes to a selected area.
- Edit a mask using the Properties panel.
- Manipulate an image using Puppet Warp.
- Save a selection as an alpha channel.
- View a mask using the Channels panel.
- Load a channel as a selection.
Exercise 1
Objective
You will be selecting parts of an image and moving them around to create a new image.
- Learn how the Photoshop selection tools.
- Make appropriate crops using the Crop tool.
- Learn how to use masks with selections
Grading (5 Points)
- You met the minimum requirements of the project assignment, as outlined in the instructions and submission requirements.
- You used good judgment while using the select and mask tools to make the best mask
- Your mask is neat and clean
- Did you save the file appropriately?
- Is the exercise submitted on time?
Instructions
- Download the files here. (Unzip the files)
- Open the female.psd file and the cool-water-background.jpg file.
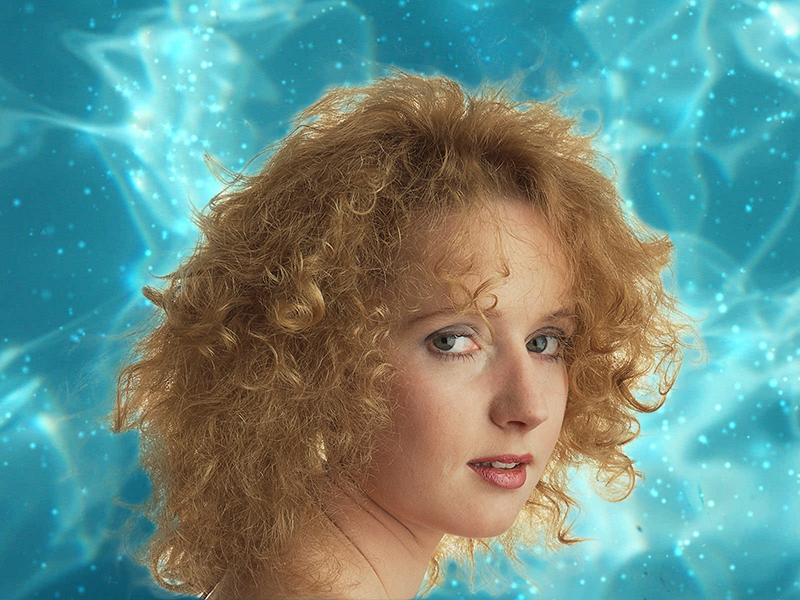
- Use the Select and Mask Mode to the female to create a nice cutout of the females head and hair.
- Use the quick selection tools and the refine edge tools to help you get a nice mask.
- Refine the quality of the selection, with the select and mask workspace.
- Have the female show on the background layer.
- Be sure to find the options that work best to make it look like female was actually photographed on the new background. (See Example) Watch the Youtube video below if you need help.
- Save your work.
- Submit the file in the network drive in a folder named Chapter6Ex1_(YourInitials).
Exercise 2
Objective
The Puppet Warp command lets you reshape part of an image. You can make an animal or athlete leap higher, for example, or a flower look as if it’s blowing in the wind. In this project, you will select an isolated figure, and use the Puppet Warp command to reshape one or more parts of the figure in a realistic way. In this exercise you should reshape an area using the Puppet Warp feature.
Grading (5 Points)
- You met the minimum requirements of the project assignment, as outlined in the instructions and submission requirements.
- You used the Puppet Warp command to reshape parts of the skateboard figure.
- Your use of Puppet Warp was effective but not excessive (you didn’t get carried away!).
- Did you save the file appropriately?
- Is the exercise submitted on time?
Instructions
- Download the file here. (Unzip the file)
- Open the jumper.psd file.
- Select the skateboarder (not the background) in the Skateboarder layer.
- Use the Puppet Warp command to reshape one or more parts of the skateboarder figure in a realistic way.
- Save your work.
- Submit the file in the network drive in a folder named Chapter6Ex2_(YourInitials).
Review
_______ isolate and protect parts of an image.
Masks
Temporary masks are called
Quick Masks
In a mask the color _____ hides and _____ reveals.
black white
In Select and Mask mode the _____ brush is designed to mask edges with challenging details.
refine edge
To have the flexibility to manipulate and image with pins you would use
puppet warp