

Chapter 9: Advanced Compositing
You will work with a variety of images to create a montage in Photoshop. You explore different filters and should have an understanding how to use the History panel to undo a series of steps.
Goals for this Lesson
- Apply and edit Smart Filters.
- Use the Liquify filter to distort an image.
- Apply color effects to selected areas of an image.
- Apply filters to create various effects.
- Use the History panel to return to a previous state.
- Upscale a low-resolution image for high-resolution printing.
Exercise
Objective
Some of the most challenging and satisfying work in Photoshop comes when we need to composite images together and make them appear like each piece existed in the same environment. Using color matching automatically match colors in Photoshop.
Grading (5 Points)
- You met the minimum requirements of the project assignment, as outlined in the instructions and submission requirements.
- You used good judgment while matching the color.
- The image looks as if all composite images existed in the same environment.
- Did you save the file appropriately?
- Is the exercise submitted on time?
Instructions
- Download the files here. (Unzip the files)
- Open background.jpg and subject.png in different windows in Photoshop.
- Drag the subject image into the background image so that it fits at the bottom the background image. (see example)
- Select the subject layer and select Image>Adjustments>Match Color in the menu bar.
- In the Match Color Dialog Box select the source as the background.jpg file. (Towards the bottom left)
- Below that select the Layer as the subject layer.
- Select the option for Neutralize. As you make these selections you should see a preview of the image changing to try and match the color of the background layer.
- Increase the Luminance and Fade slider to your liking.
- Decrease the color intensity slider slightly.
- Select OK, when you are satisfied.
- Save your work with the layers still in tact.
- Submit the file in the network drive in a folder named Chapter9Ex1_(YourInitials).
Example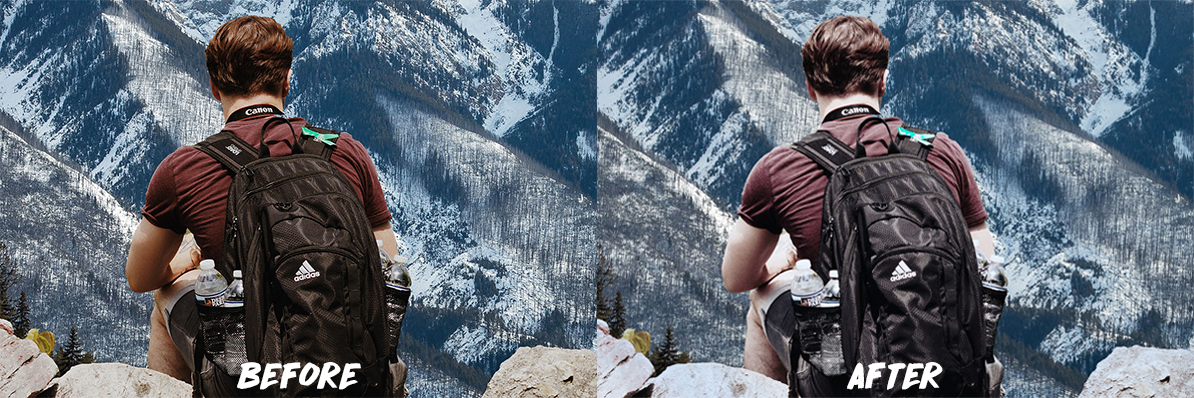
Review
Unlike regular filters, Smart filters are _________.
non-destructive
Free ______ allows you to move and adjust layer contents.
transform
To combine layers you can _____ them.
merge
To undo an action in photoshop press
Control + Z
The ______ panel allows you to step backward and forward through changes.
history