

Chapter 5: Quick Fixes
This chapter should provide you with a well-rounded understanding of how you can perform many routine corrections to digital photographs.
Goals for this Lesson
- Remove red eye.
- Brighten an image.
- Adjust the features of a face.
- Combine images to create a panorama.
- Crop and straighten an image and fill in any resulting empty areas.
- Blur the background of an image using Iris Blur.
- Merge two images to extend depth of eld.
- Apply optical lens correction to a distorted image.
- Remove an object and seamlessly ll the empty space.
- Adjust the perspective of an image to match another image.
Exercise 1
Objective
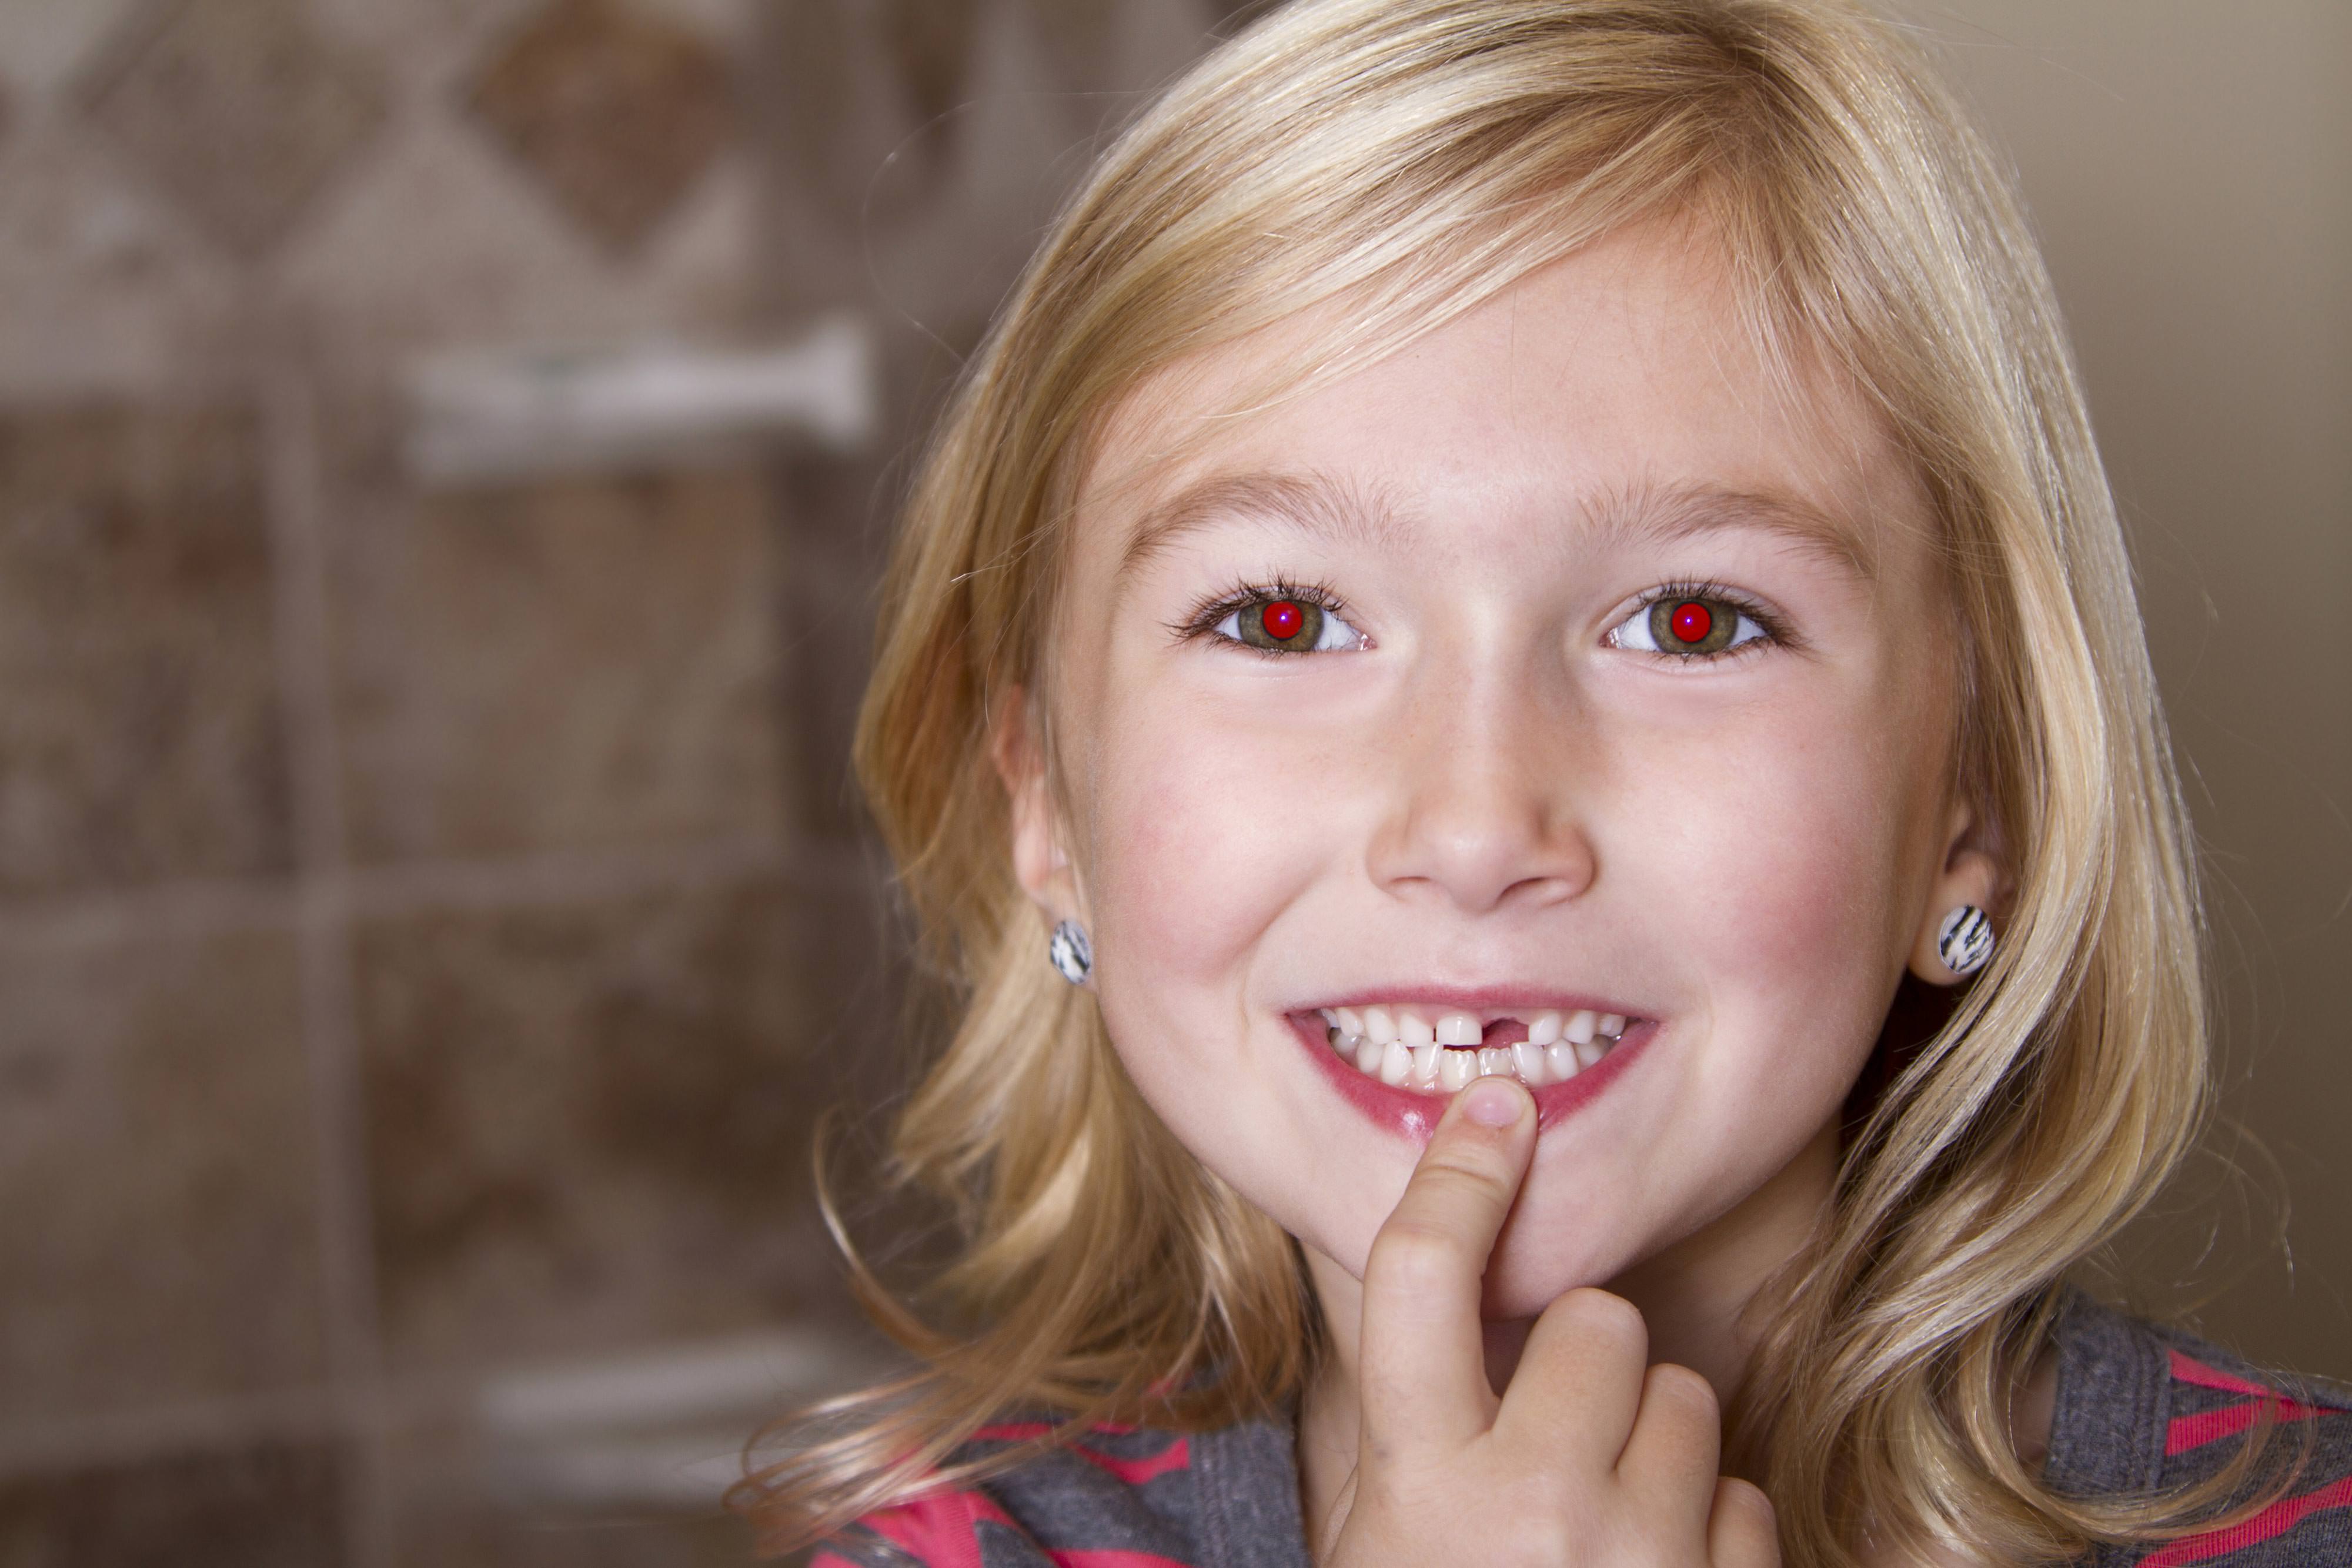
Red-Eye occurs when a photo is taken with a flash that is too close to the subject. Students will use the red-eye tool to fix unwanted red eye to an image.
Grading (5 Points)
- You met the minimum requirements of the project assignment, as outlined in the instructions and submission requirements.
- You successfully used the red eye tool.
- You used the proper settings for the red eye tool.
- Did you save the file appropriately?
- Is the exercise submitted on time?
Instructions
- Download the file here.
- Open the redeye.jpg file.
- Select the Red-Eye Tool and set the Pupil Size to 50% and Darken Amount to 50%.
- Save the file as a .JPG.
- Submit the file in the network drive in a folder named Chapter5Ex1_(YourInitials).
Exercise 2
Objective
In this project, you will produce a panoramic photo. You will use four photos of a scene and merge them into one in order to create a beautiful looking panoramic scene using Photoshop’s automate feature.
Grading (5 Points)
- You met the minimum requirements of the project assignment, as outlined in the instructions and submission requirements.
- It is clear from looking at your panoramic image that you used the correct tools and resources to create a flawless image.
- You used the crop straighten feature appropriately as well as using the content-aware crop feature.
- Did you save the file appropriately?
- Is the exercise submitted on time?
Instructions
- Download the files here. (Unzip the files)
- Open Photoshop and go to File>Automate>Photomerge.
- Browse to select the correct folder you downloaded.
- Make sure Perspective is selected under the layout options. Also be sure to have all options checked: Blend Images Together, Vignette Removal, Geometric Distortion Correction, and Content Aware Fill Transparent Areas.
- Click Ok.
- Flatten the image.
- The horizon line is slightly tilted. Using the Crop tool and the Straighten button with Content-Aware selected, create a straight line that is aligned with the horizon.
- Save the file as a .JPG called panorama.jpg.
- Submit the file in the network drive in a folder named Chapter5Ex2_(YourInitials).
Review
How can you remove blur introduced by a shaky camera?
Camera Shake Reduction filter
You can remove the red eyes of a person using what tool?
Red-Eye tool
To distort a part of an image, like facial feature use the _____ filter.
Liquify
Interactive blurs let you customize a blur that can be found where?
Blur Gallery
Blending multiple images together is what feature in Photoshop?
Photomerge
Filling in empty areas with surrounding pixels is done with ___________ technology.
content-aware