

Chapter 7: Typographic Design
Photoshop provides powerful, flexible text tools so you can add type to your images with great control and creativity.
Goals for this Lesson
- Use guides to position text in a composition.
- Make a clipping mask from type.
- Merge type with other layers.
- Preview fonts.
- Format text.
- Distribute text along a path.
- Control type and positioning using advanced features.
Exercise 1
Objective
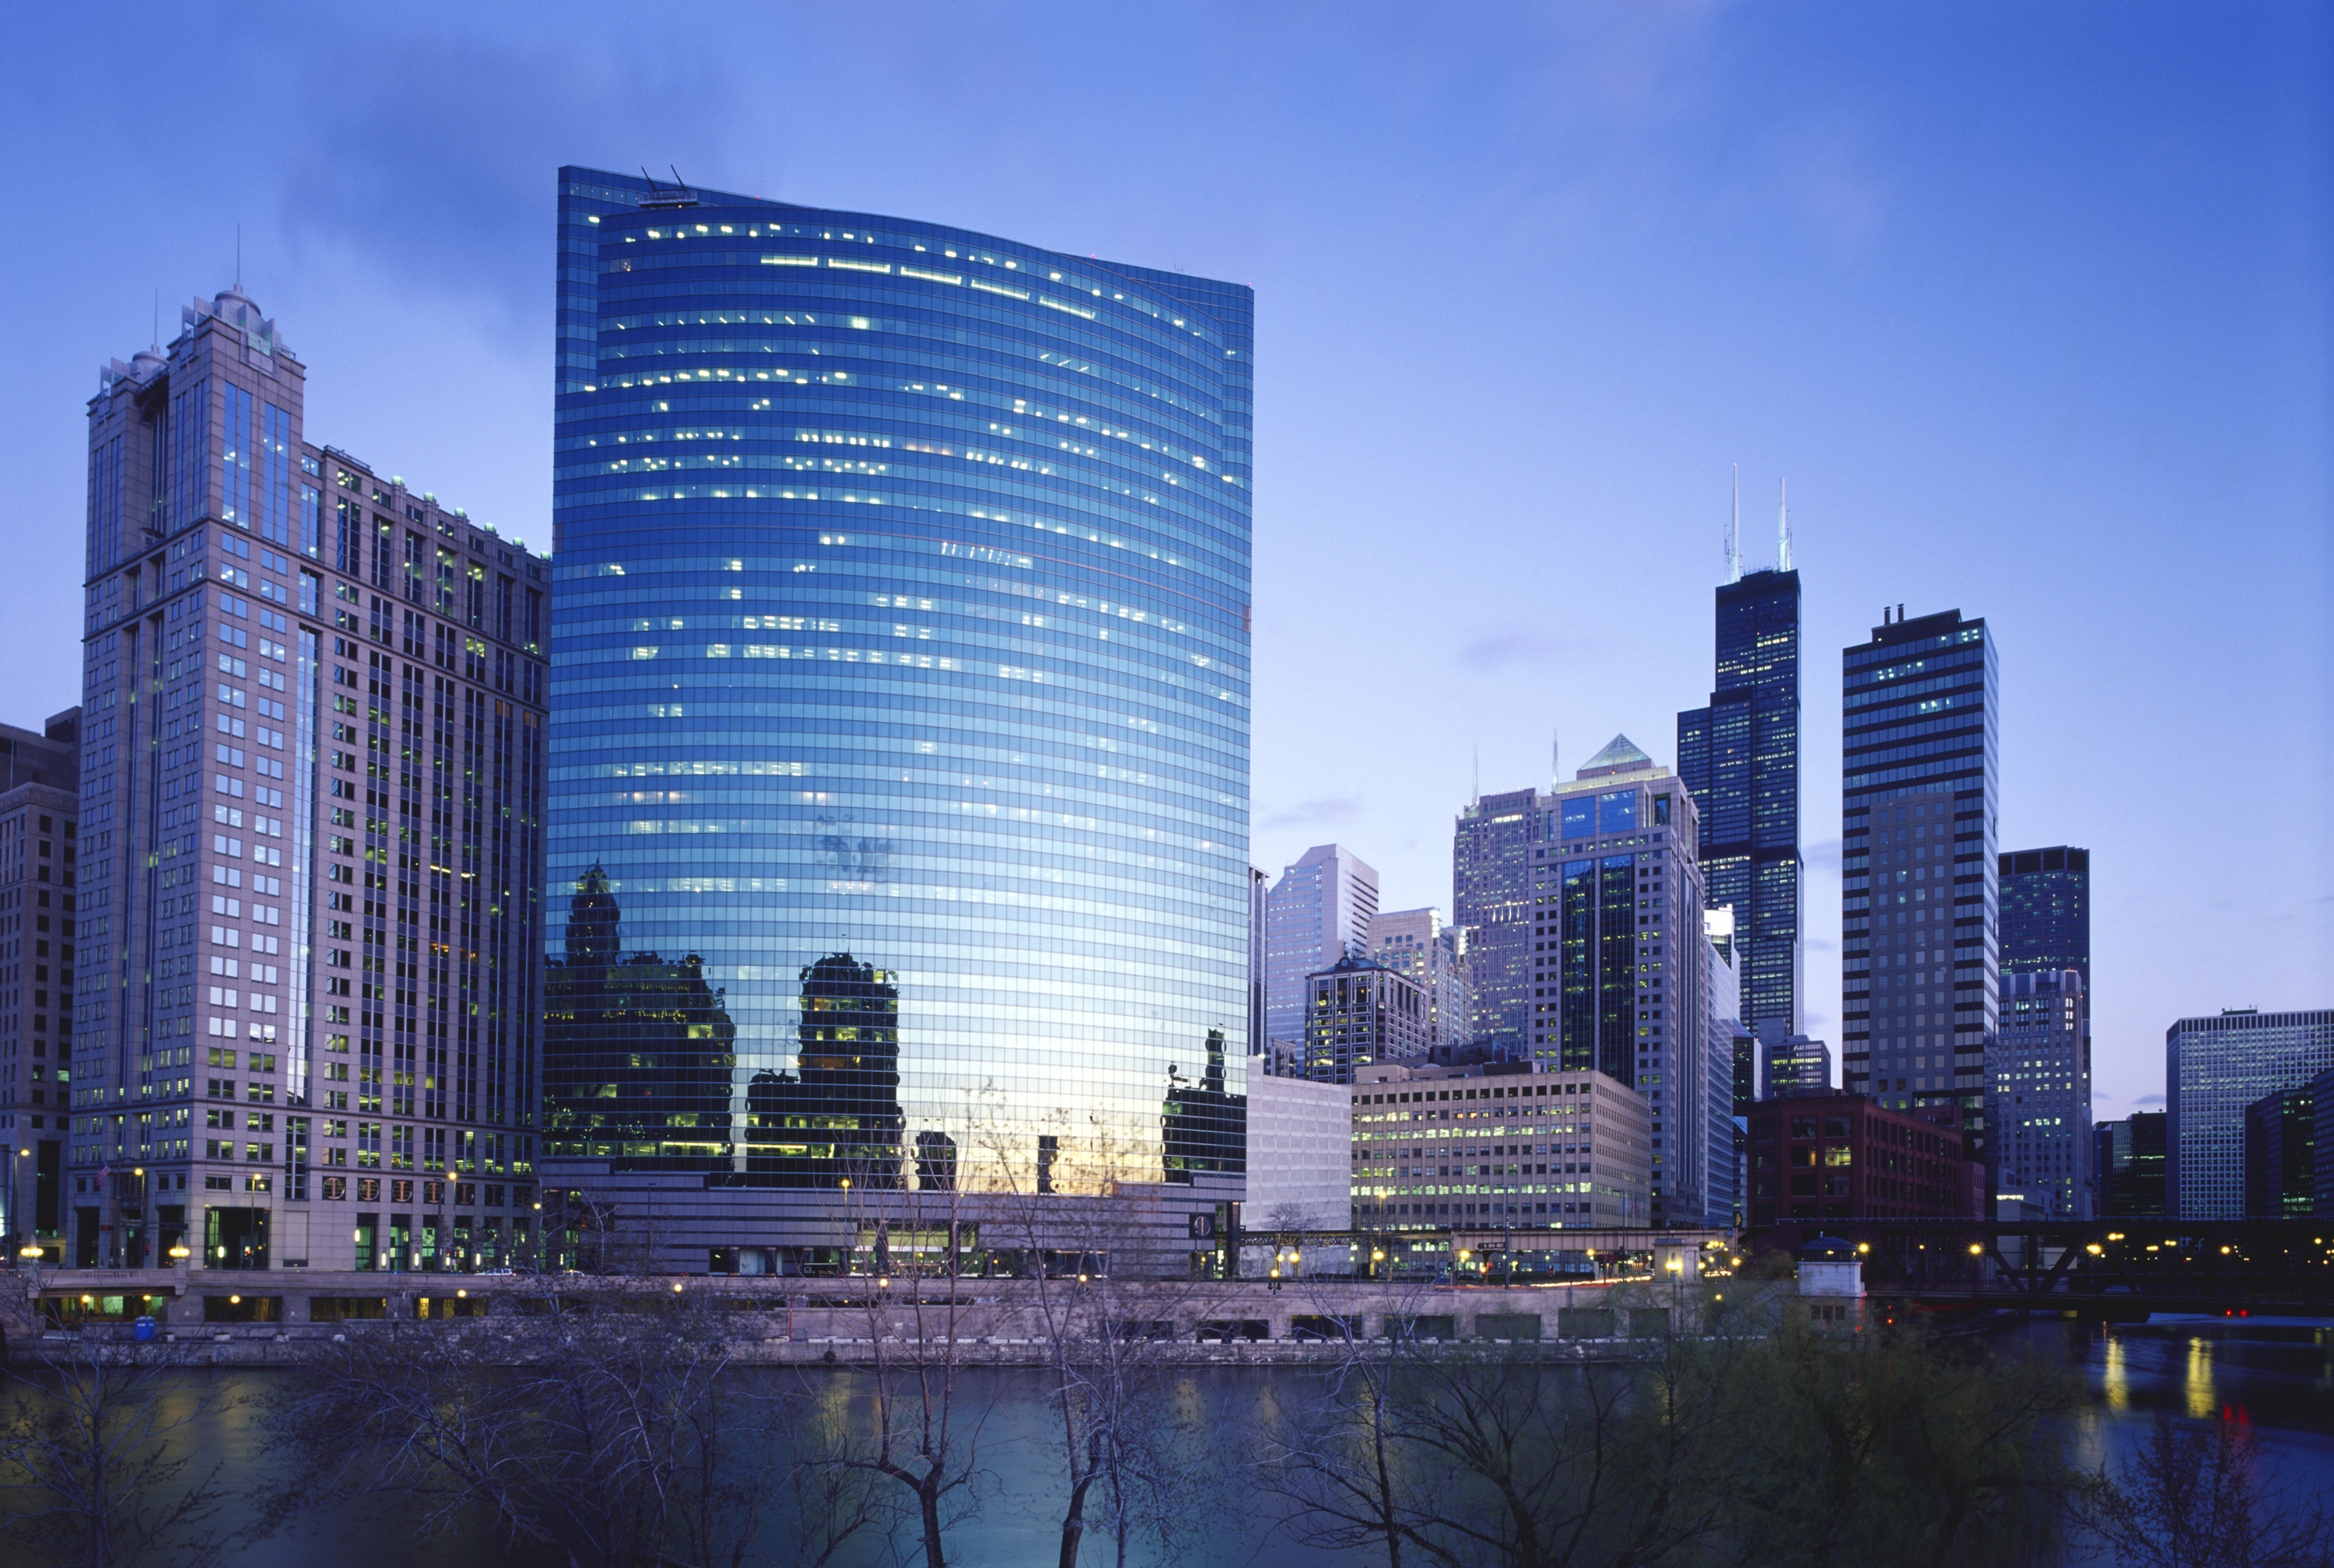
You are designing the cover of a travel brochure, which is a cityscape of Boston. In this project, you will add the title word Boston to the cityscape image, and make it stand out using proper placement, blending modes, and type layer styles.
- Demonstrate how to screen back type using blending modes and clipping masks.
- Modify type size and font selection.
- Apply type layer styles to create a headline effect.
Grading (5 Points)
- You met the minimum requirements of the project assignment, as outlined in the instructions and submission requirements.
- You chose a font, type size, and type style suitable for headline type.
- You positioned the type with a clipping mask so it doesn’t obscure the important parts of the image.
- The type has appropriate layer styles and a blending mode.
- Did you save the file appropriately?
- Is the exercise submitted on time?
Instructions
- Download the file here.
- Open cityscape.jpg in Photoshop.
- Duplicate the background layer of the cityscape.
- Using the Horizontal Type tool, choose a sans serif font (one with sharp corners on its characters), large type size, and weighty type style for the headline word Boston.
- Type the word “Boston” and with the type layer still active, use the Move tool to try different placements for the headline word and scale the word so it fits appropriately on the cityscape background.
- With the type layer and the duplicated background create a clipping mask for the type.
- With the mask layer still active, try out different layer blending modes.
- Find a blending mode that keeps the type readable, yet also makes it look as if it’s fused with the image.
- Apply layer styles of your choice to the clipping mask. (In the example below a white stroke and a drop shadow layer style were chosen)
- Save the file with all layers intact.
- Submit the file in the network drive in a folder named Chapter7Ex1_(YourInitials).
Example

Exercise 2
Objective
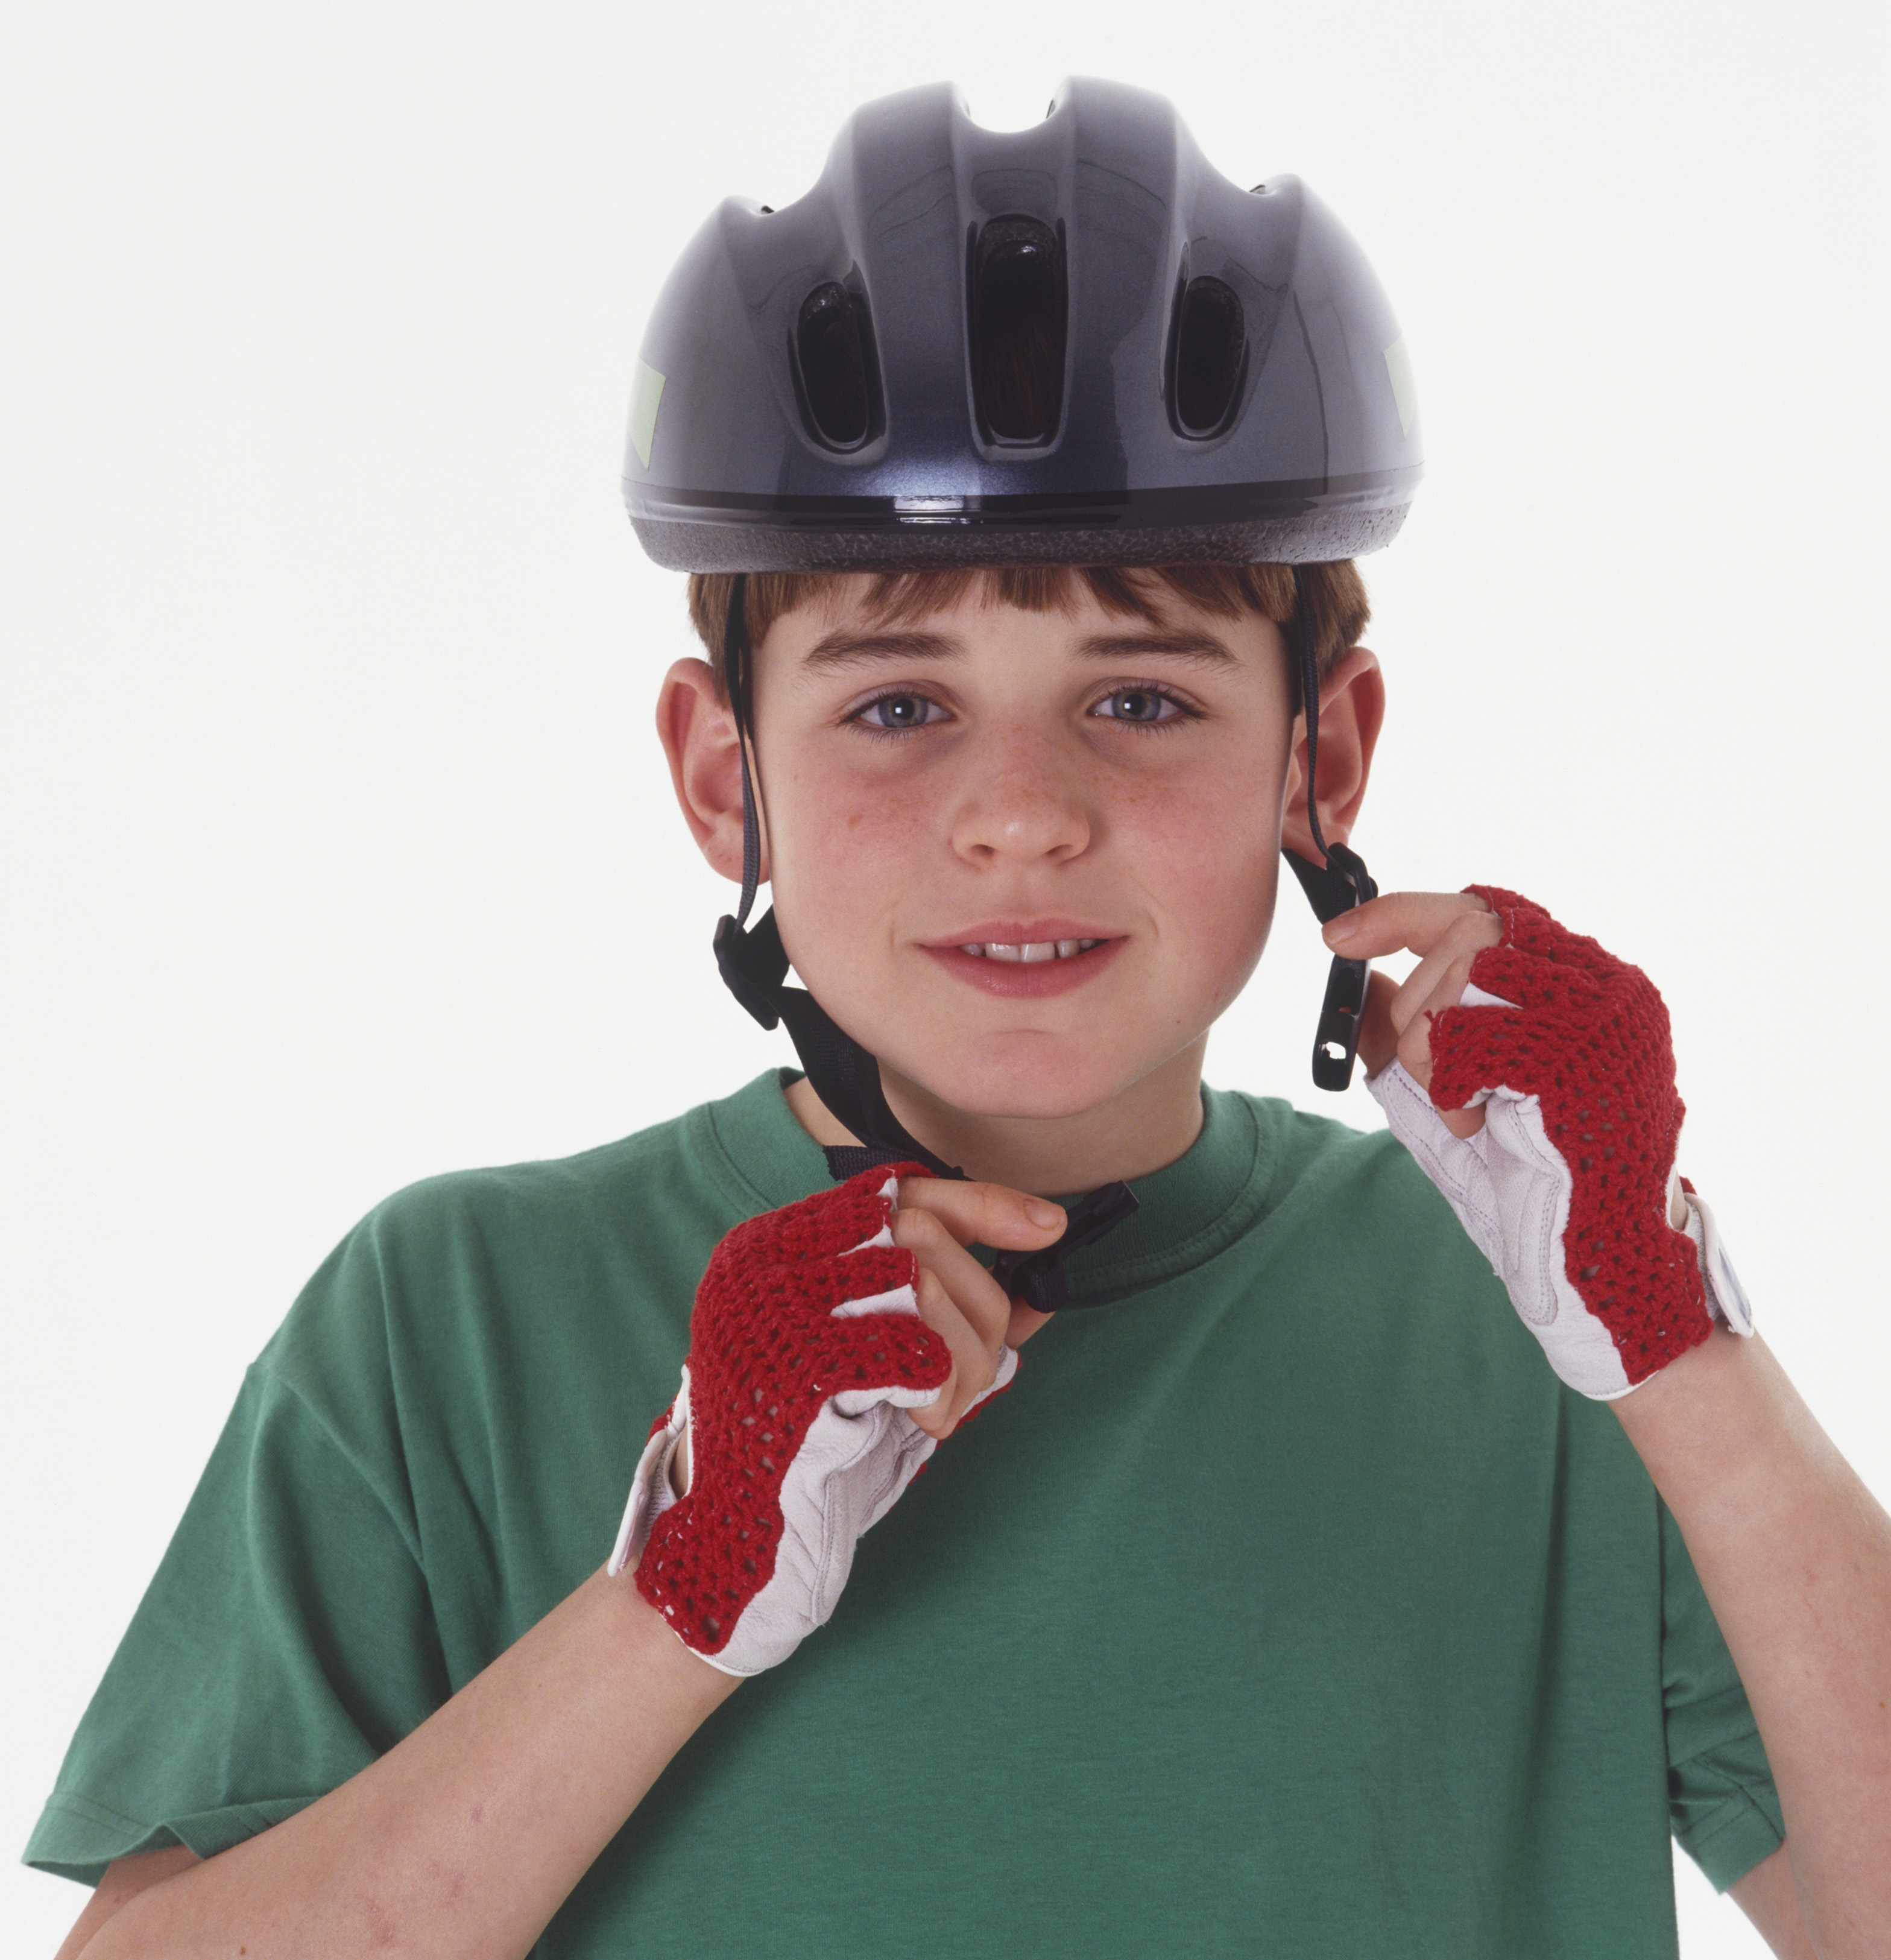
Your assignment is to create the cover for a new magazine on the subject of teen sports. You will use the type features of Photoshop to create a masthead and bold, eye-catching headings (for articles) that will appeal to teen readers. The type needs to be positioned artfully on or around the large cover image.
- Create editable point and paragraph type
- Select, style, and recolor type
Grading (5 Points)
- You met the minimum requirements of the project assignment, as outlined in the instructions and submission requirements.
- Your magazine cover is colorful and eye-catching, and the type complements the image.
- Your magazine cover includes a masthead (name of the magazine) and several blocks of type that describe feature articles.
- The type is positioned artfully on or around the image.
- The scale of each type block correlates to the importance of the article it is describing.
- Did you save the file appropriately?
- Is the exercise submitted on time?
Instructions
- Download the file here.
- Start Photoshop and create a new 8.5”w x 11”h document.
- Place the required photo (biker.jpg that was downloaded), and size it to fit on the canvas using the transform tool. (Do not stretch the image).
- Using both point type and paragraph type, create a bold eye-catching masthead. Include the issue date, price, and website. Size the bounding box to fit artfully around the top of the image. The masthead can partially overlap the photo.
- Create two strong sub headings that fit around the photo. The headings should represent what is found in the magazine.
- Select the type and change its typographic attributes (font size, leading, kerning, etc.). The scale of each type block should correlate to the importance of the article it is describing.
- Recolor the type. Use the Eyedropper tool to sample colors from the image.
- Insert any other element that would help to make this look like a real life magazine cover.
- Save the file as biker.psd, with all layers intact.
- Submit the file in the network drive in a folder named Chapter7Ex2_(YourInitials).
Example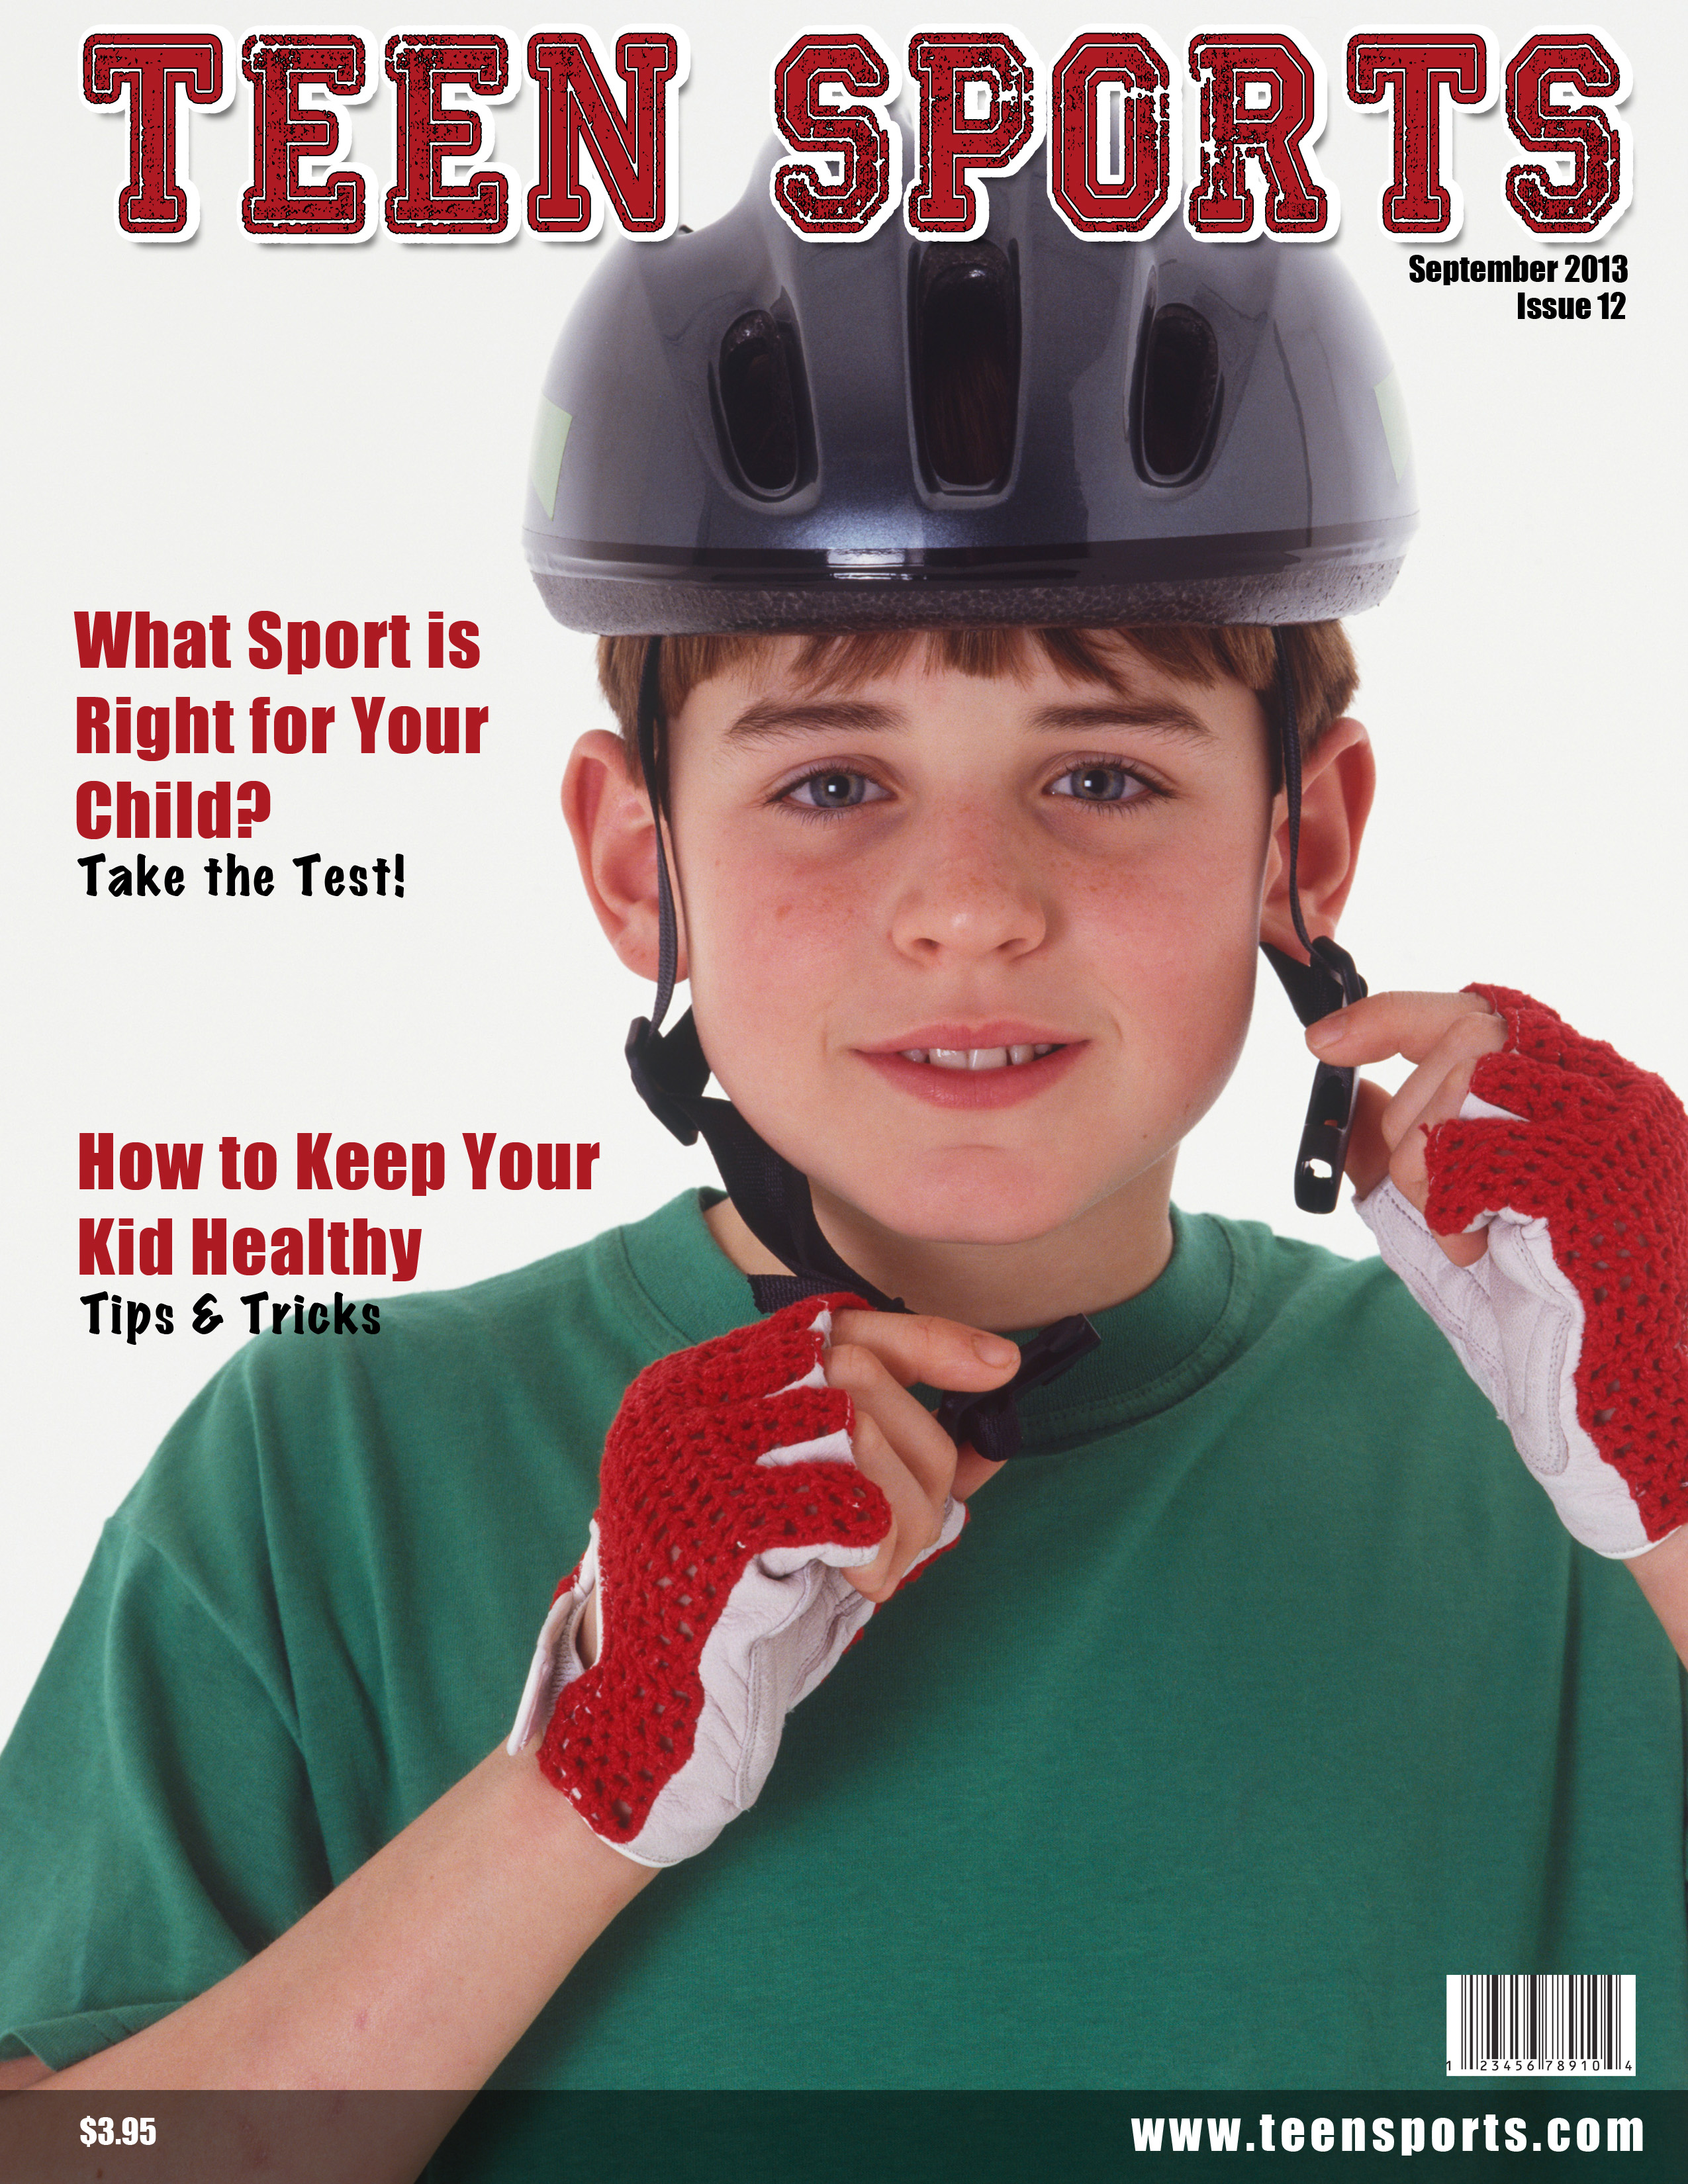
Review
When creating a single line of text you would use ______ text.
point
Text in Photoshop is ______ based.
vector
The horizontal options bar lets you ______ type.
format
To adjust the amount of horizontal space between multiple characters of type you use
tracking
You can favorite a font by clicking on the _____ icon next to the font name.
star
Clicking and dragging with the text tool allows you to create __________?
paragraph text
The amount of space between a line of type and the one above it is called ?
leading